Top 5 Healthiest Microgreens to Grow and Eat!
Welcome to the lush world of microgreens, the tiny but mighty heroes of the urban garden! Packed with flavor and nutrients, these little greens are making a big impact on healthy eating.
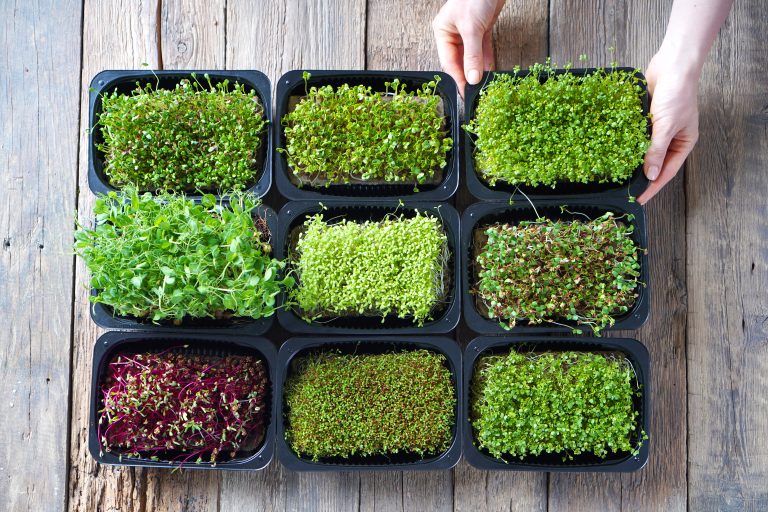
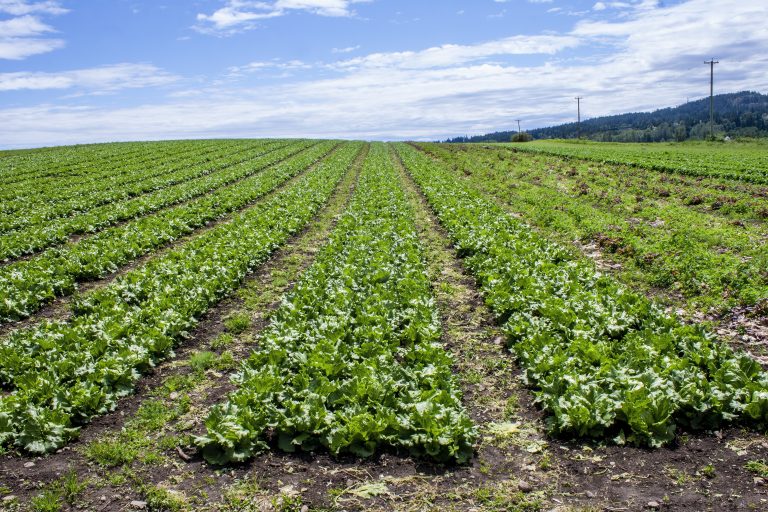
Microgreens are young vegetable greens harvested after cotyledon leaves develop. Unlike sprouts, only above-soil parts are cut. Packed with nutrients, these tiny plants offer intense flavors and vibrant colors, popular among chefs and home cooks.
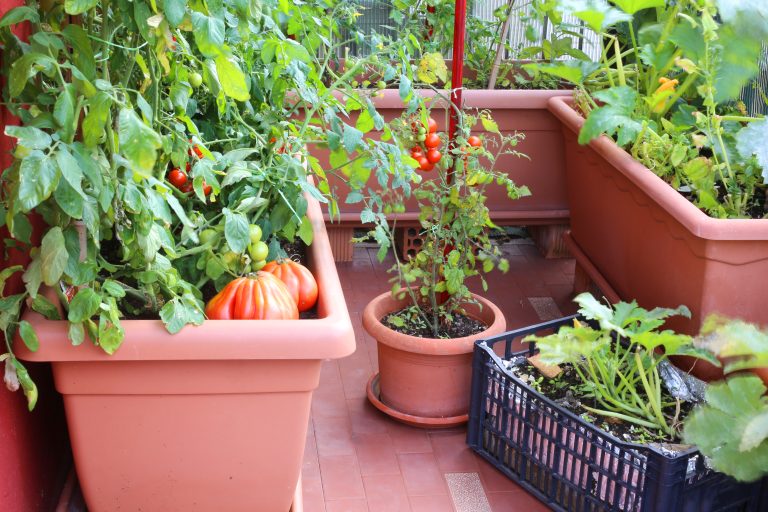
Beyond garnish, they’re versatile, growable indoors, ideal for urban gardeners. Perfect for beginners, microgreens are low-maintenance, forgiving, and yield fresh greens on your windowsill year-round in a few weeks.
1. Broccoli microgreens
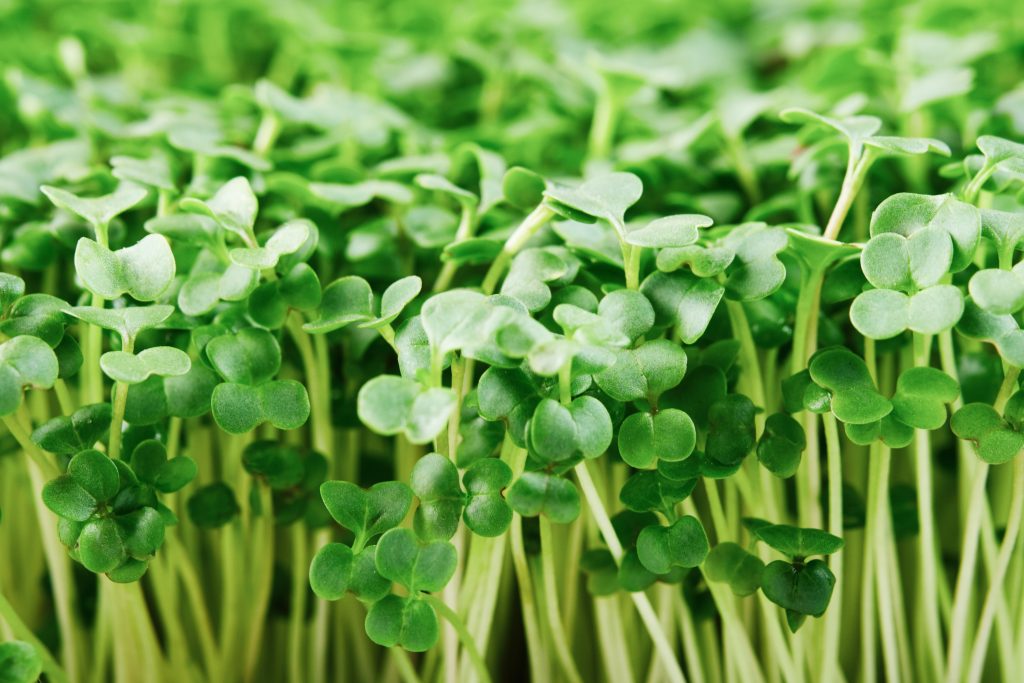
Broccoli microgreens are the heavyweights of the microgreen world. They’re packed with sulforaphane, a compound that’s been shown to have anti-cancer properties. Broccoli microgreens have a mild, slightly peppery flavor that’s a great addition to salads, sandwiches, and smoothies.
Hey hey! Don’t forget to subscribe to get our best content 🙂
Growing broccoli microgreens is a breeze. They’re one of the fastest to sprout and are quite forgiving, making them great for beginners. And let’s be real, they’re a sneaky way to get your dose of broccoli without having to chow down on a full floret.
I remember the first time I tried broccoli microgreens—the flavor was so fresh and intense, it was like a mini flavor explosion in my mouth. And knowing they were chock-full of health benefits made them all the more satisfying.
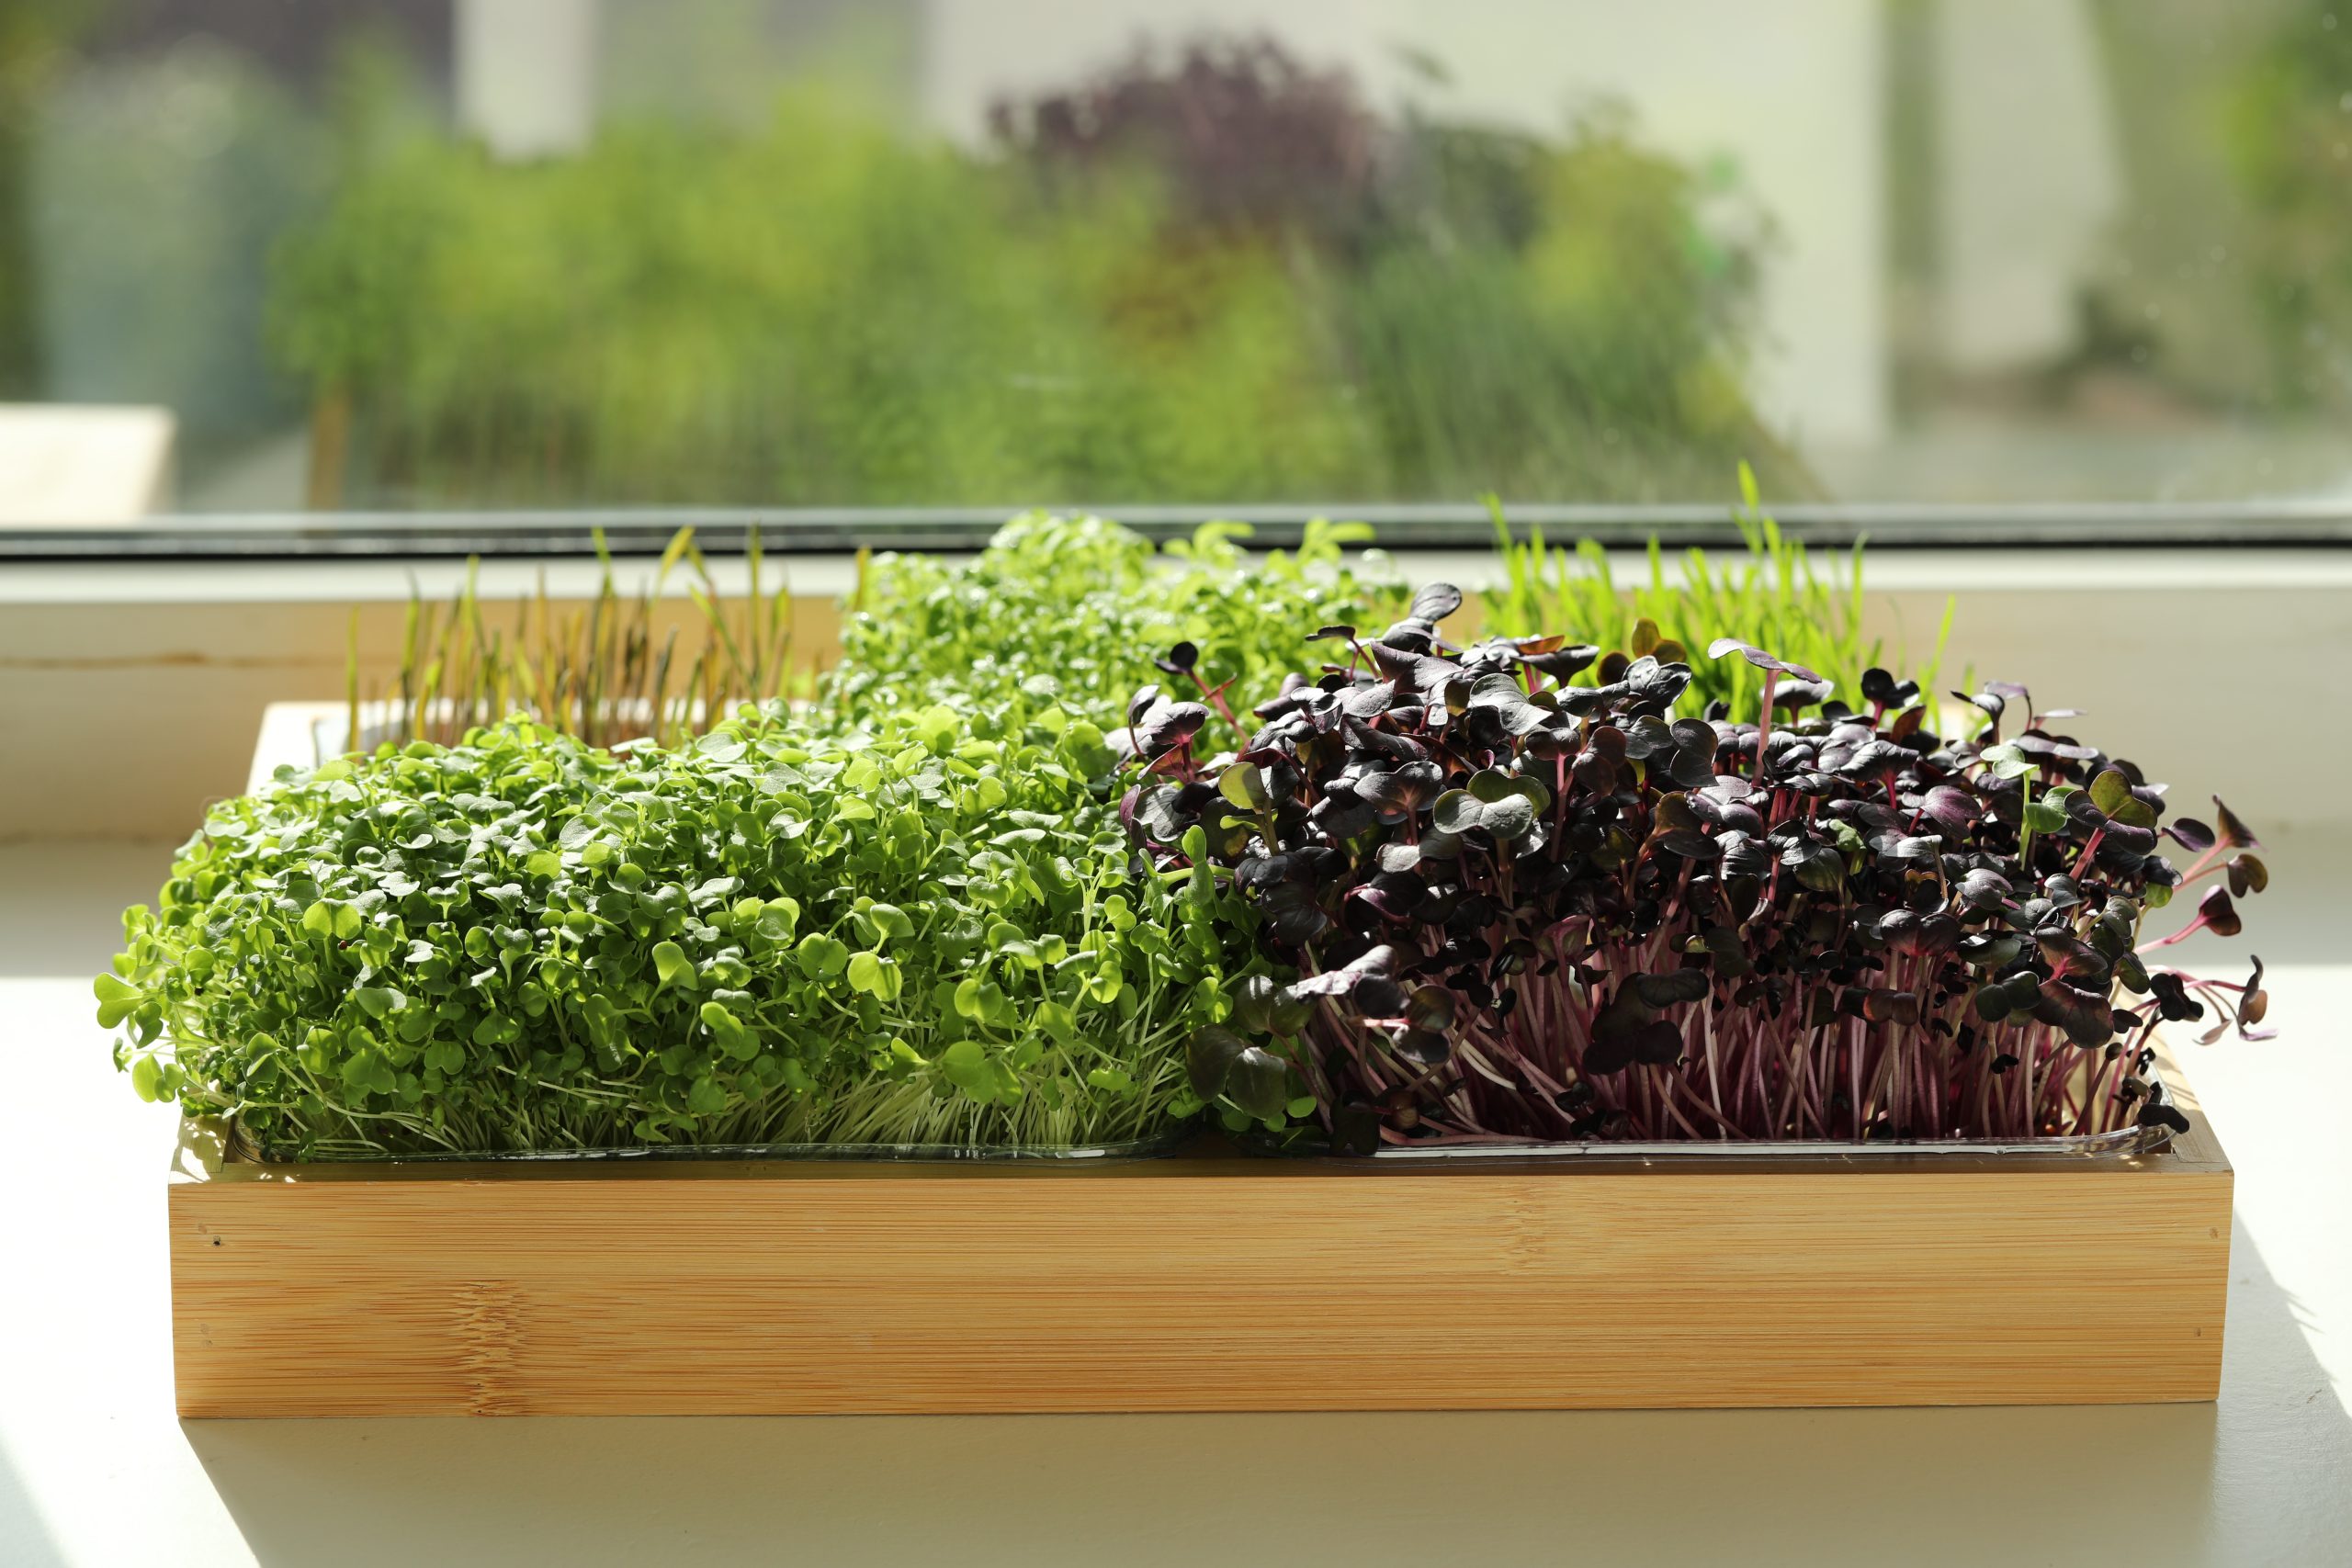
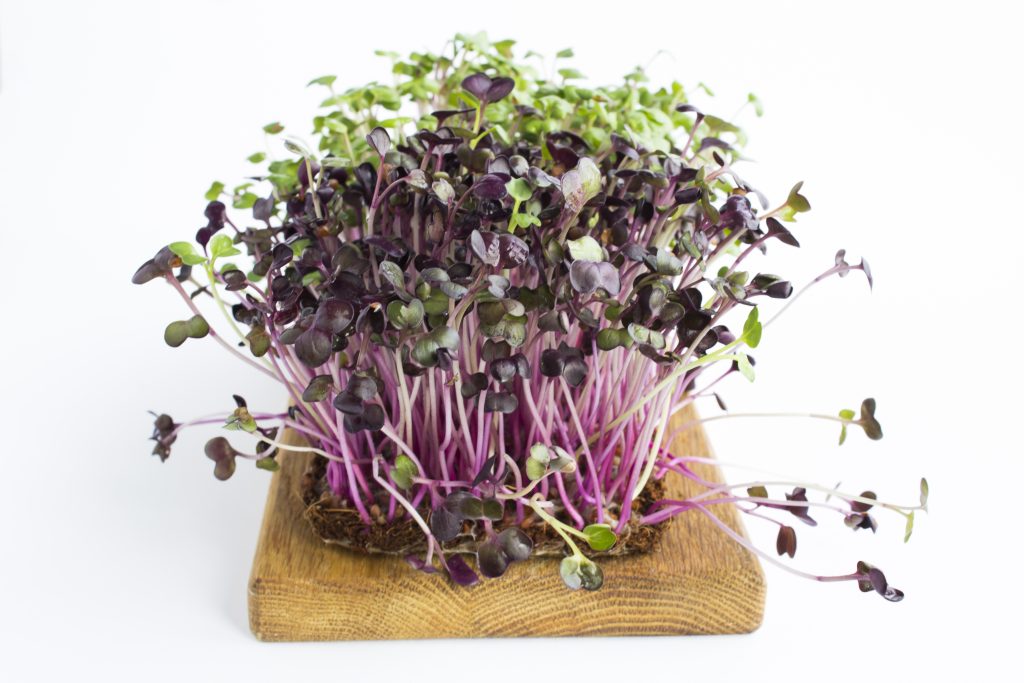
2. Red cabbage microgreens
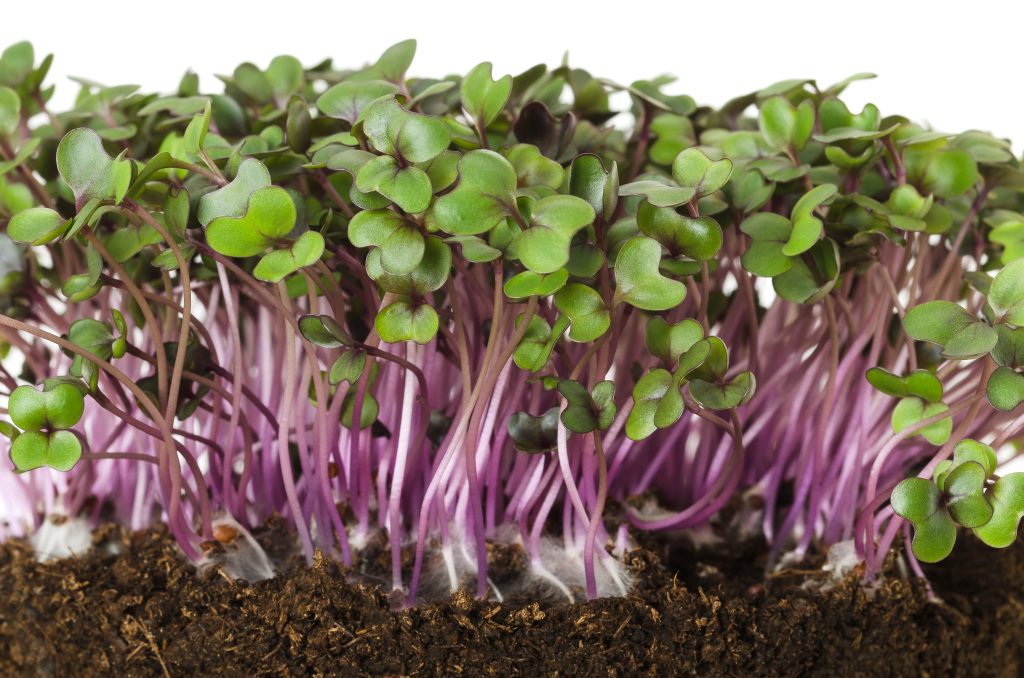
Red cabbage microgreens are not only stunningly beautiful with their vibrant purple hues, but they’re also a nutritional powerhouse. They boast a high concentration of vitamin C, vitamin E, and beta-carotene, which are essential for a healthy immune system.
Their flavor is mild and earthy, with a hint of sweetness, making them a delightful addition to any dish that could use a pop of color and nutrition. Plus, they’re robust growers and can add visual appeal to your indoor garden.
If you’re looking to impress your friends with both your culinary and gardening skills, red cabbage microgreens are your ticket. They’re as pleasing to the eye as they are to the palate, and they’re a testament to the fact that healthy food can be beautiful too.
3. Radish microgreens
Radish microgreens are a zesty little number that can add a peppery kick to your dishes. They are rich in vitamins A, B, C, E, and K, and contain essential amino acids and minerals. Their spicy flavor is perfect for giving a little oomph to salads, tacos, or even as a stand-alone snack.
These microgreens are among the easiest to grow, and they germinate so quickly you can practically watch them grow in real time. They’re also quite resilient, which makes them a favorite for those just getting their feet wet in the world of microgreens.
I’ll never forget the time I added radish microgreens to a grilled cheese sandwich. It went from being a simple comfort food to a gourmet experience with just a sprinkle of these spicy greens!
4. Sunflower microgreens
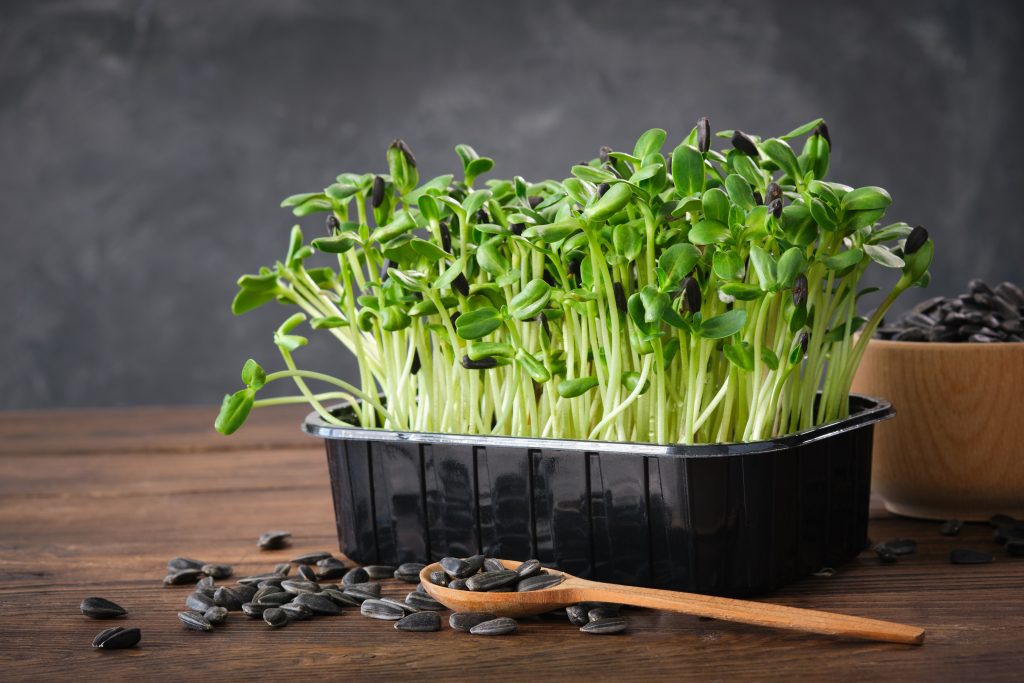
Sunflower microgreens are the unsung heroes of the microgreen family. They have a distinctive nutty flavor and a hearty crunch that can stand up to heartier dishes. Nutritionally, they’re a fantastic source of healthy fats, fiber, essential fatty acids, vitamins A, B complex, D, and E, calcium, iron, magnesium, potassium, and phosphorus.
They’re a bit larger than other microgreens, which makes them a satisfying meat substitute in sandwiches and wraps. Sunflower microgreens are also a hit in smoothies, adding a creamy texture without the need for dairy.
Growing sunflower microgreens is a unique experience. They require a bit more soil and weight on top of the seeds to germinate properly, but once they take off, they grow with such vigor that it’s almost like watching a mini forest come to life on your countertop.
5. Pea shoots
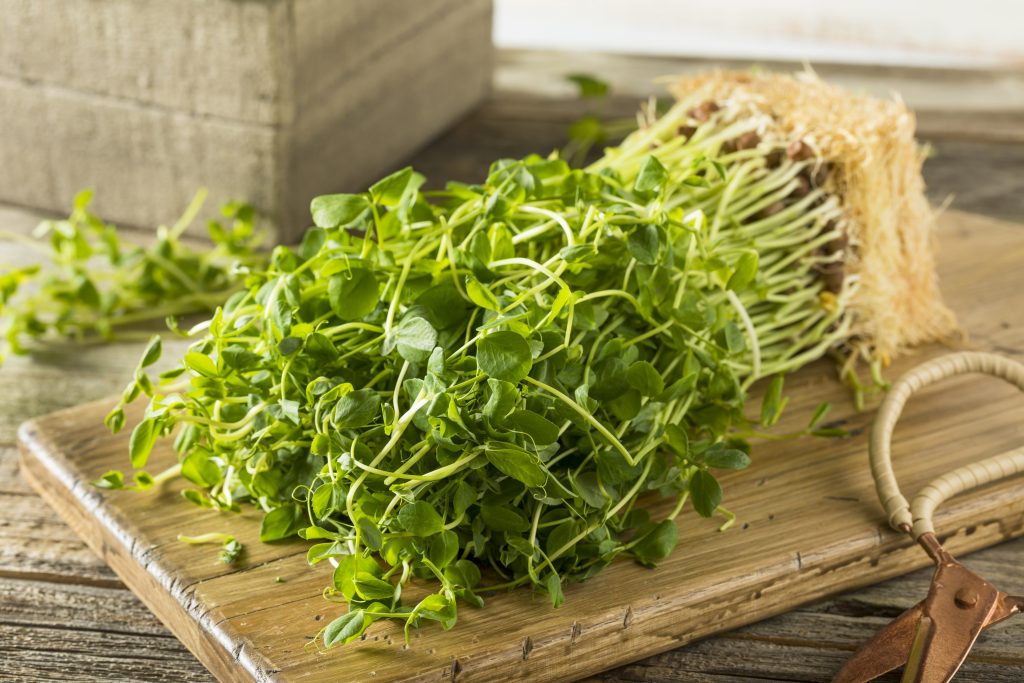
Pea shoots, the tender young leaves of the green pea plant, are a sweet and crunchy addition to the microgreen family. They are extremely rich in vitamins A, C, and folic acid, and they have a higher protein content compared to other microgreens.
Their versatility is unmatched—you can steam them, sauté them, or eat them raw. They have a succulent texture and a flavor reminiscent of fresh peas from the pod, which can brighten up any salad or stir-fry.
Growing pea shoots can be a fun project, especially if you have kids. They grow quickly and are quite sturdy, making them one of the more forgiving microgreens to cultivate. Plus, they can be harvested multiple times, giving you more bang for your buck.
Nutritional Powerhouses
Microgreens are nutritional titans, often containing higher nutrient levels than their mature counterparts. They’re rich in vitamins A, C, E, and K, and are loaded with antioxidants that can contribute to reducing the risk of chronic diseases. It’s like eating a concentrated version of the vegetable!
These little guys can have up to 40 times the nutritional content of fully-grown vegetables. That means a small handful of microgreens can provide you with a significant portion of your daily vitamin intake. Talk about small but mighty!
Incorporating microgreens into your diet is an excellent way to boost your intake of essential nutrients. They’re not just a garnish—they’re a nutritional powerhouse that can enhance your overall health. (And let’s be honest, they’re pretty cute too.)
Growing Microgreens 101
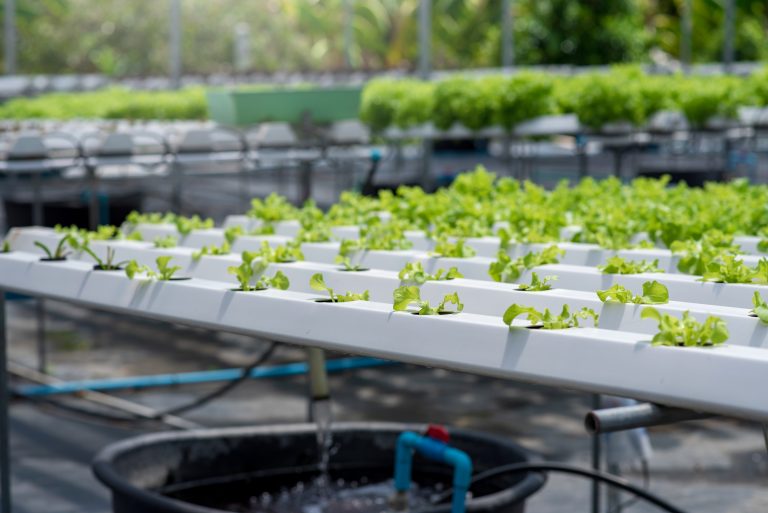
Growing microgreens is as easy as pie. You’ll need a shallow tray, some potting soil or a hydroponic medium, seeds, and a sunny spot or a grow light. Just sprinkle the seeds onto your soil, cover them lightly, and mist them with water. Keep them moist and in a few days, you’ll see the magic happen.
You don’t need a green thumb, just a bit of patience and care. Microgreens don’t require fertilizers or pesticides, making them a pure, organic choice for your plate. Plus, growing them yourself means you know exactly what’s going into your food—no mystery ingredients here!
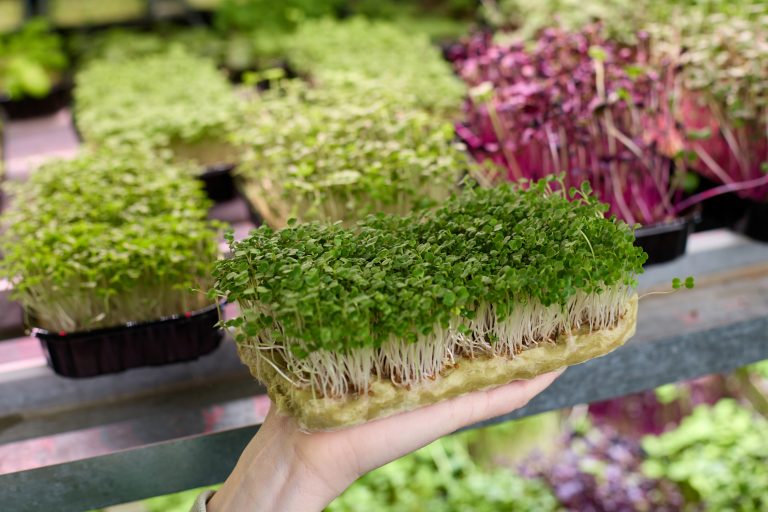
Harvesting is straightforward—once the first true leaves emerge, snip them with scissors just above the soil line. This can be as quick as 7 to 21 days after planting, depending on the variety. You’ll feel like a proud plant parent every time you garnish your meal with your homegrown greens.
In the video, Gwinnett County Public Library explains –
Gwinnett County Public Library
- Definition of Microgreens: Microgreens are young sprouts of greens, lettuce, and herbs, harvested when they are just a few days old.
- Distinguishing Microgreens from Sprouts: Unlike microgreens, sprouts are eaten whole, including the root, shoot, and leaves.
- Nutritional Content: Microgreens and sprouts are rich sources of antioxidants, with higher vitamin levels and lower levels of carbohydrates.
- Seed Options for Sprouts: Lentils, chickpeas, mung beans, and alfalfa seeds can be used for growing sprouts.
- Seed Options for Microgreens: Spinach, lettuce, arugula, and kale are suitable for growing microgreens.
- Equipment Needed: Basic items required include a container for seeds and something for drainage, such as a strainer with a paper towel or a mason jar with a mesh top.
- Ease of Sprouting: Sprouts are easy to germinate, requiring only moisture and darkness, making them suitable for experimentation.
- Demonstration of Sprouting: A demonstration using lentil seeds and alfalfa seeds in a stainless steel sprouter and a mason jar is shown.
- Germination Process: Seeds are soaked, rinsed thoroughly with water, and stored in darkness for 8 to 10 hours, with repeated rinsing every 8 to 10 hours.
- Growing Microgreens: Microgreens can be grown in soil inside or outside, using hydroponics or in a container. Harvesting is done when the first set of true leaves develops, typically taking 10 to 12 weeks. Microgreens can be rinsed with vinegar to eliminate any mulch.
Harvesting Your Microgreens
Harvesting microgreens is a cinch. When they’ve grown their first set of true leaves, it’s time to grab your scissors and snip. It’s important to harvest before they overgrow; otherwise, they can become tough and lose their delicate flavor.
The key is to cut them just above the soil line and do it in the morning when they are most turgid. This ensures you get the freshest, crispest greens possible. And remember, always wash them gently before eating to remove any soil residue.
Harvesting your microgreens is incredibly rewarding. There’s something special about adding a pinch of homegrown greens to your meals, knowing you nurtured them from seed to plate. (It’s like serving a little piece of your garden!)
Creative Microgreen Recipes
Microgreens can elevate even the simplest dishes to gourmet status. Try sprinkling radish microgreens on top of your avocado toast for a peppery bite, or mix pea shoots into your next green smoothie for an extra nutrient punch.
One of my favorite quick meals is a microgreen salad with quinoa, cherry tomatoes, and a lemony vinaigrette. It’s healthy, and satisfying, and showcases the microgreens as the star of the show. Or, for a fun twist, use sunflower microgreens as a base for a nutrient-dense pesto.
The possibilities with microgreens are endless. They’re not just for fancy restaurants; they’re for anyone looking to add a burst of flavor and nutrition to their meals. So, get creative in the kitchen and let these tiny greens inspire you!
The world of microgreens is a playground for the taste buds and a boon for your health. So, roll up your sleeves, sow some seeds, and get ready to enjoy the freshest greens you’ve ever tasted, right from your urban garden.