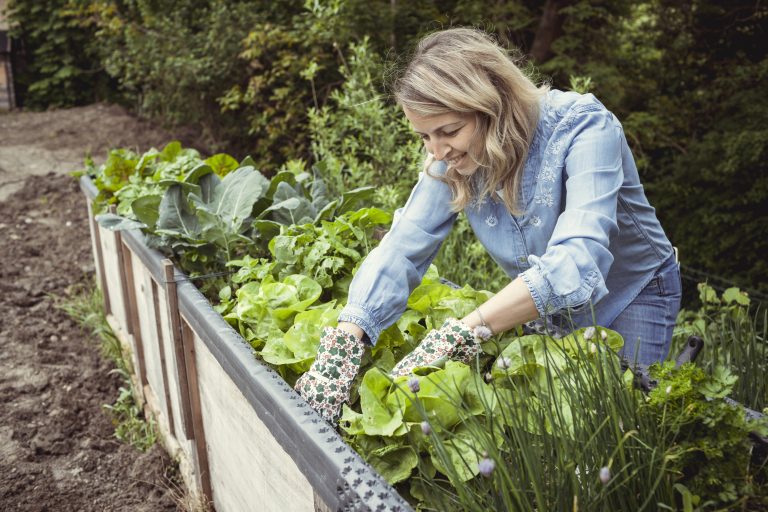
10 Tips for Thriving Local Greens Cultivation
Welcome to the vibrant world of urban gardening, where the concrete jungle gives way to lush, green sanctuaries. Let’s dive into the art of cultivating local greens, ensuring you can enjoy a bountiful harvest from your very own patch of paradise.
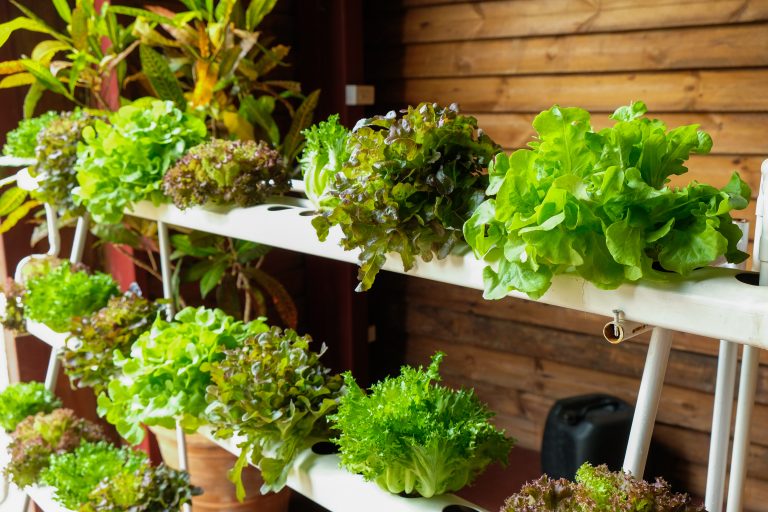
1. Choosing the Right Greens
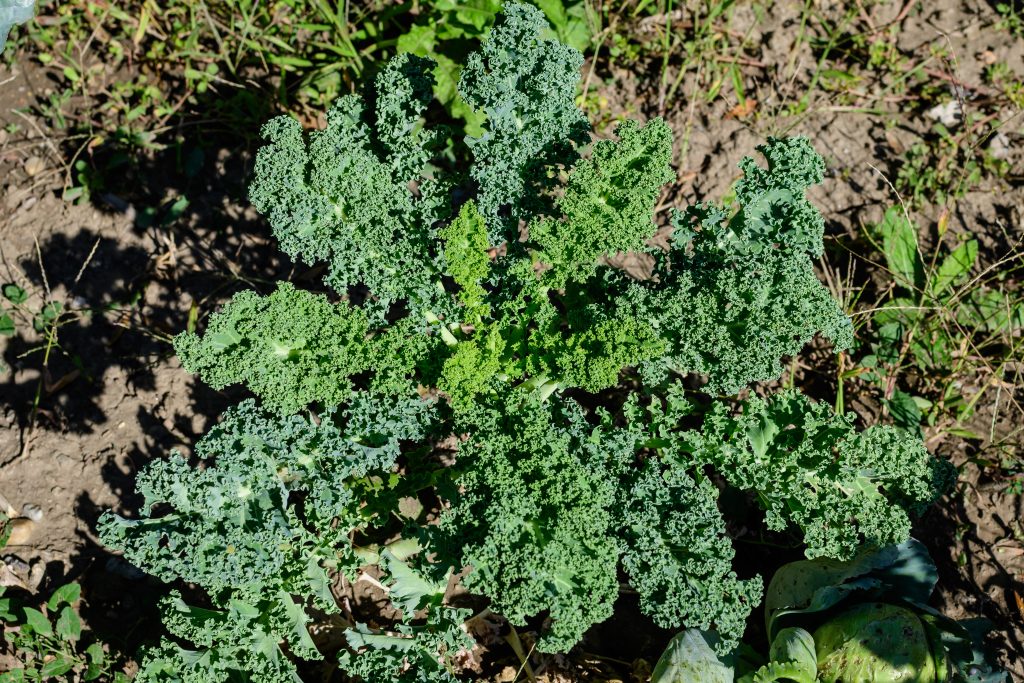
When you’re limited by space but not enthusiasm, picking the right greens for your urban garden is crucial. Consider leafy greens like spinach, kale, and arugula, which are nutritious and quite forgiving for beginners. Look for varieties that are known to thrive in your local climate and have a reputation for being robust.
Remember, a happy plant feels at home, so don’t go planting tropical rarities in a temperate zone!
Think about your eating habits, too. There’s no point in growing a forest of kale if just the thought of kale chips makes you cringe. Also, some greens, like mesclun mixes, offer a variety of flavors and textures from a single pot, perfect for the indecisive gardener.
Hey hey! Don’t forget to subscribe to get our best content 🙂
Lastly, don’t overlook the aesthetic aspect; a blend of red lettuce and green chard can turn your balcony into a tapestry of color. (Your Instagram followers will thank you!)
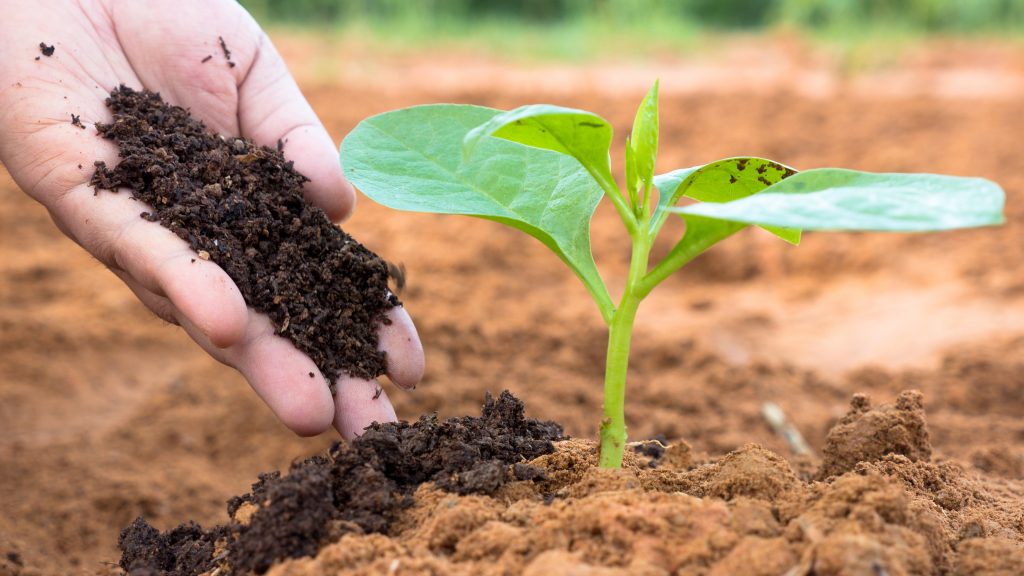
2. Understanding Soil Basics
Soil isn’t just dirt—it’s a living, breathing foundation for your greens. For urban gardens, opt for a high-quality potting mix that provides good drainage and aeration, because nobody likes waterlogged roots. Check for a mix that includes compost or worm castings, as these are like a gourmet meal for your plants.
Your greens’ roots are their lifeline, so they need the right balance of nutrients and pH to flourish. Most greens prefer a slightly acidic to neutral pH (around 6.0-7.0), but it’s always a good idea to do a little homework on your specific plants. You can easily test your soil with a home testing kit—think of it as a wellness check-up for your garden.
Aeration is another key factor often overlooked. Compacted soil is a no-go as it can stifle roots and prevent proper water absorption. Now and then, gently fluff the soil with a fork (or your fingers if you like to get up close and personal with your plants). It’s like giving your greens a little spa treatment.
3. Perfecting Watering Techniques
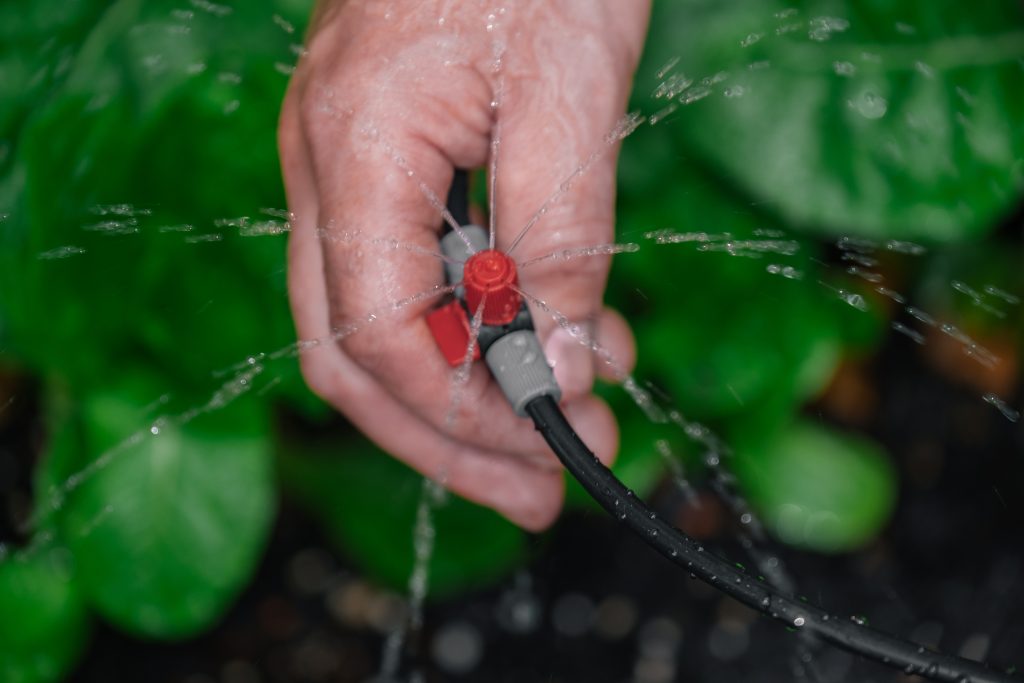
Watering seems simple, but it’s an art form in the urban garden. Too much and you’ll drown your plants; too little and they’ll shrivel up. The trick is to water deeply but infrequently, encouraging strong root growth. This means thoroughly soaking the soil until water runs out of the drainage holes, then letting it dry out slightly before the next watering.
Timing is everything. Early morning is ideal because it allows water to reach the roots before the heat of the day evaporates. Evening watering can lead to damp leaves overnight, which is a VIP invitation for fungi to party.
And let’s not forget the weather. If it’s been raining cats and dogs all week, your greens might not need that extra drink you’re offering. Stick a finger in the soil; if it’s dry an inch below the surface, it’s time to water. If it’s moist, give it a break—your plants will thank you for not forcing them to wear soggy socks.
4. Sunlight: Your Greens’ Best Friend
Sunlight is to plants what coffee is to humans—it kickstarts their day and gets them going. Most greens crave full sun (about 6-8 hours a day), but if your garden spot gets less, don’t despair. Leafy greens can tolerate partial shade, especially in hotter climates where the afternoon sun can be too intense.
Pay attention to how the sun moves across your space. You might find that what’s sunny in the morning is shady by afternoon. Rotate your pots to ensure even exposure, or choose plants that are content playing in the shade for part of the day.
Remember, though, that “full sun” doesn’t mean “scorching sun.” During heatwaves, your greens might need a little sunscreen (aka a shade cloth) to prevent wilting and sunburn. It’s all about finding that sweet spot where your greens can bask in the glow without getting a sunburn.
5. Fertilizing for Lush Growth
Think of as a vitamin boost for your greens. You want to provide enough nutrients to promote lush, healthy growth without overdoing it. Organic options like fish emulsion or seaweed extract are not only good for your plants but also better for the environment. (Plus, you avoid that chemical smell that can linger like a bad cologne.)
Greens are quick growers, so a regular feeding schedule every 4 to 6 weeks during the growing season will keep them happy. However, be mindful of the instructions on your fertilizer—more is not always better. Over-fertilizing can lead to a fast growth spurt that weakens the plant and makes it more susceptible to pests and diseases.
Speaking of balance, remember to check your soil’s nutrient levels periodically. If you’ve been adding compost or using a fortified potting mix, you might not need as much fertilizer as you think. It’s like a diet; you want your plants to have a well-rounded meal, not just gorge on their favorite snack.
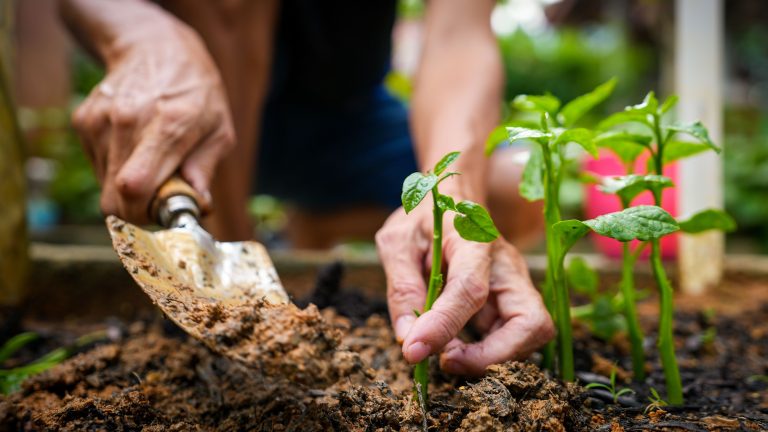
6. Pests: Prevention and Control
Pests are the uninvited guests at your garden party and trust me, they don’t RSVP. The best defense is a good offense, so keep your plants healthy, as strong plants are less appealing to pests. Inspect your greens regularly for signs of trouble, like chewed leaves or sticky residues.
If you spot pests, don’t panic and reach for the heavy artillery (chemical pesticides). Try gentler methods first, like handpicking or spraying with water to dislodge the critters. Neem oil or insecticidal soaps can also be effective without harming beneficial insects or the environment.
Sometimes, though, you have to accept a few nibbled leaves as part of the urban gardening experience. (Think of it as sharing a salad with nature.) If you keep an eye out and act quickly, you can usually keep pests from crashing the party for too long.
7. Harvesting Your Greens Timely
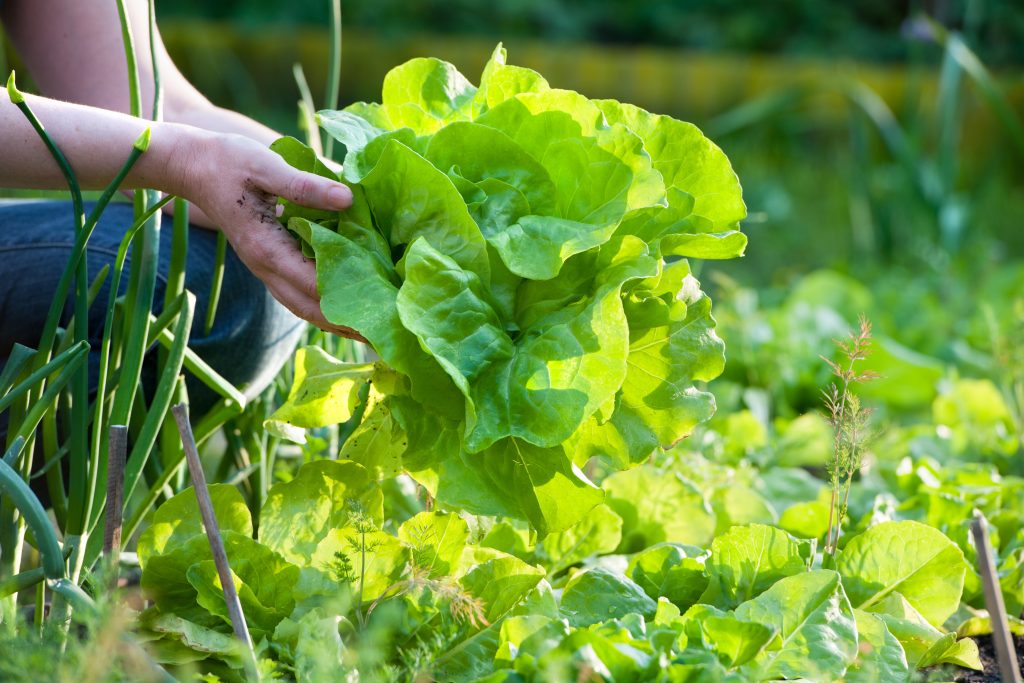
The moment of truth—harvest time—is when you get to reap what you’ve sown. Harvest your greens in the morning when they’re most turgid (that’s a fancy way of saying “crisp”). Gently snip leaves from the outside of the plant, allowing the inner leaves to continue growing. This “cut-and-come-again” method extends the life of your plants and maximizes yield.
Don’t wait too long to harvest, or you’ll have tough, bitter leaves. Greens are at their peak of flavor and tenderness when they’re young and just the right size. It’s a bit like catching a movie in theaters before spoilers ruin the ending.
And remember, the more you harvest, the more your plants will produce. It’s like getting a haircut; a good trim can encourage growth. Just be sure not to take more than a third of the plant at a time to avoid stressing it out.
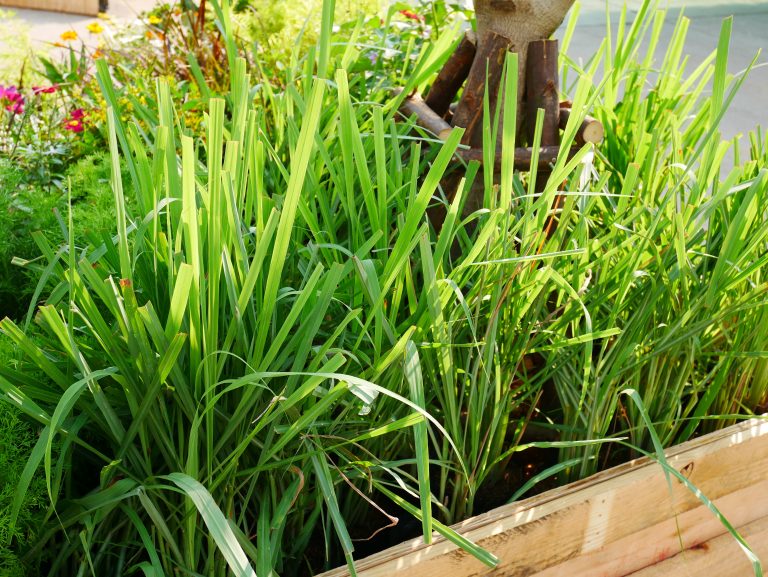
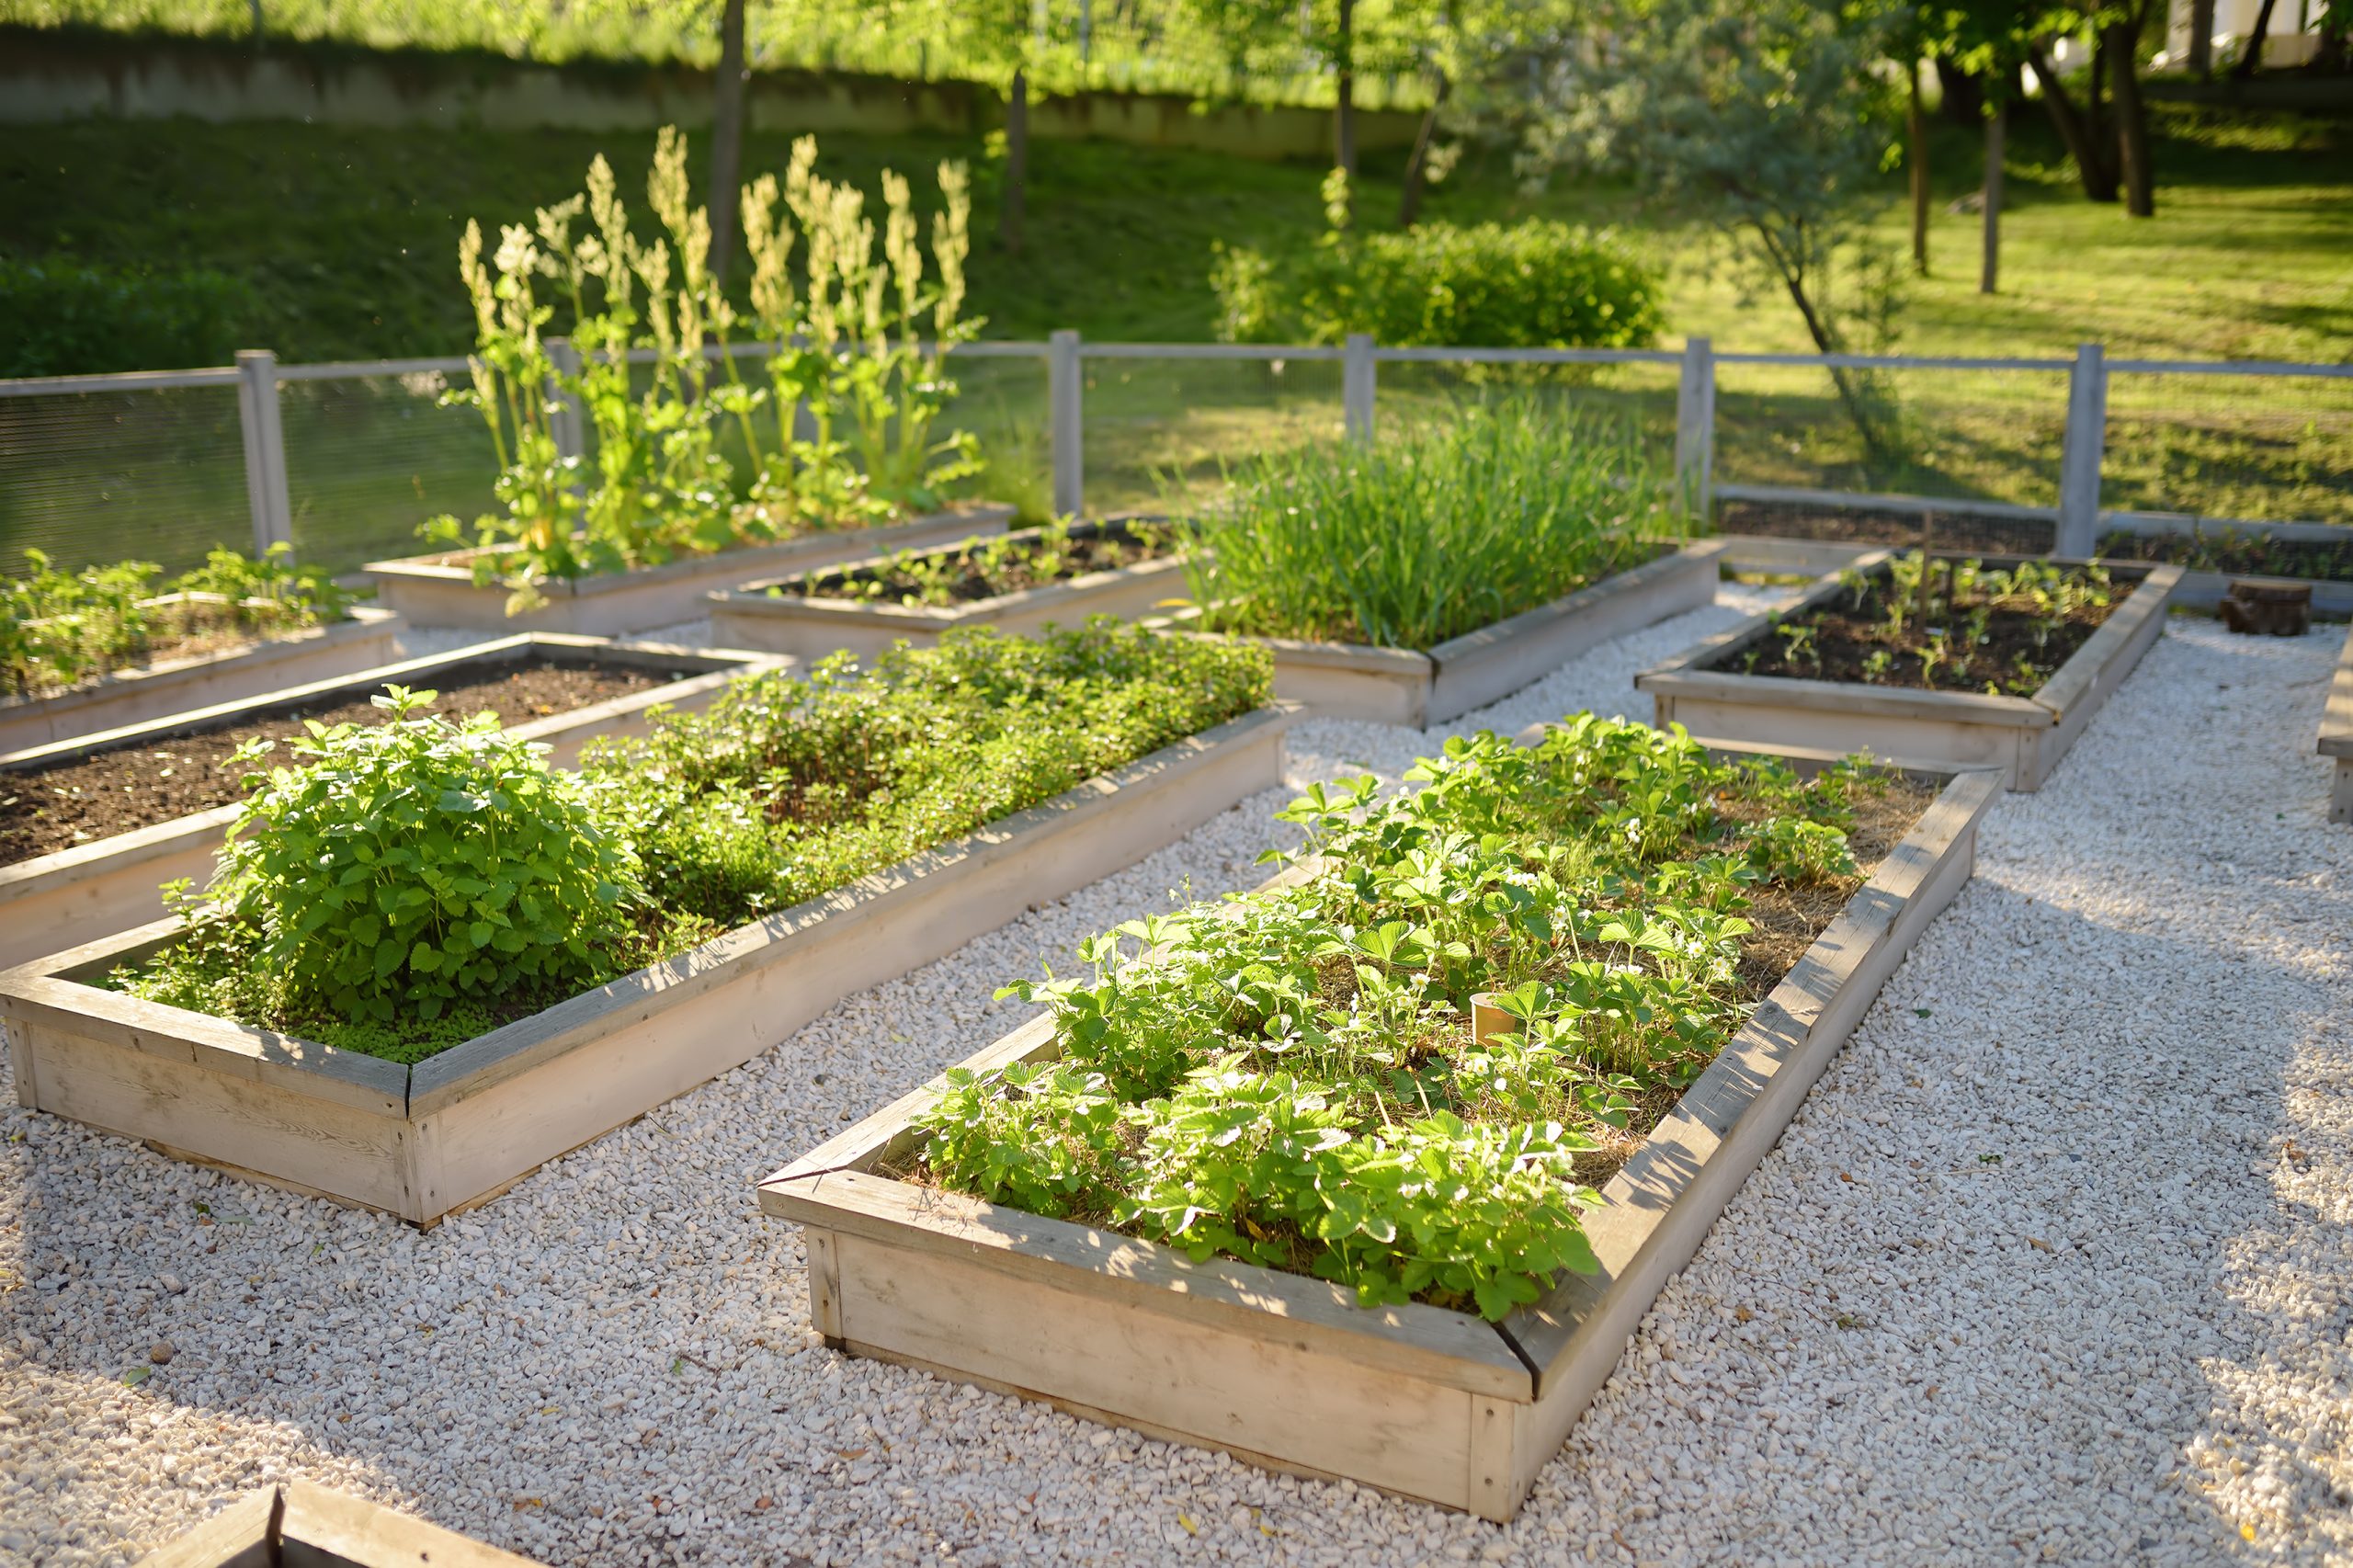
8. Seasonal Planting Strategies
To keep your urban garden productive year-round, you’ve got to play matchmaker with your greens and the seasons. Cool-season crops like spinach and lettuce are perfect for spring and fall, while heat-tolerant ones like Swiss chard can take the summer heat. It’s all about timing—sow seeds at the right time, and you’ll be rewarded with a continuous supply of fresh greens.
As the seasons change, so should your planting strategy. In the heat of summer, for example, plant your greens where they’ll get morning sun but are shielded from the harsh afternoon rays. Conversely, in cooler months, a sunny spot can provide the extra warmth your greens crave.
Don’t forget about succession planting—sowing new seeds every few weeks to ensure a constant harvest. It’s like having multiple seasons of your favorite show lined up on Netflix; just as one ends, another begins.
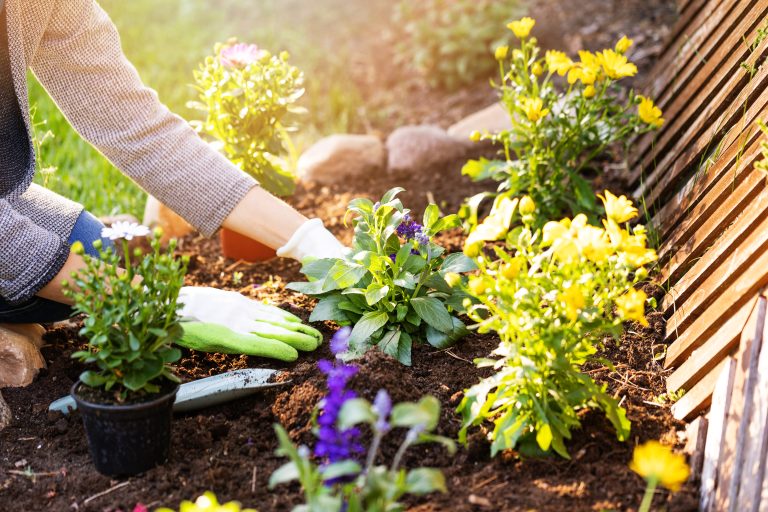
9. Companion Planting Benefits
Companion planting is like setting up a buddy system for your plants. Some plants, like marigolds or garlic, can deter pests with their strong scents, acting as natural bodyguards for your greens. Others, like beans, fix nitrogen in the soil, providing a nutrient boost to their leafy friends.
Think of your garden as a community; each plant brings something to the table. For example, tall plants can provide shade for more heat-sensitive greens, while deep-rooted plants can help break up the soil, making it easier for their neighbors’ roots to spread out.
It’s not just about pest control and soil health, though. Companion planting can also improve pollination and maximize space, ensuring that every inch of your garden is working hard. Plus, it’s just nice to see your plants supporting each other like a group of friends pitching in on a project.
In the video, GrowVeg explains –
GrowVeg
- Companion planting involves growing certain plants together to benefit one or both plants, such as attracting pollinators or repelling pests.
- Research supports companion planting, showing that it can reduce pest incidents, boost growth, and attract wildlife.
- Garlic is effective in repelling green peach aphids, making it a valuable companion plant for susceptible crops.
- Basil is a beneficial companion for tomatoes, repelling pests like thrips and confusing moths that lay tomato hornworms.
- Nasturtiums are excellent for diverting pest attacks from vulnerable crops like cabbage, kale, or broccoli due to their attractiveness to insects.
- Flowers like poached eggplant, comfrey, ageratum, and zinnias attract pollinators, benefiting crop plants like tomatoes, squash, and peas.
- Tansy is a powerful flower that attracts pest-eating bugs while repelling harmful pests, though it can be invasive in North America.
- Marigolds and calendula also attract beneficial bugs and are good additions to a companion planting scheme.
- The online Garden Planner provides an evidence-based companion planting system, simplifying the process of finding suitable plant combinations.
- Utilizing companion planting techniques can naturally enhance garden growth and productivity, offering a smart and effective gardening strategy for enthusiasts.
10. Storing and Preserving Greens
After all that hard work, you’ll want to enjoy your greens for as long as possible. Store freshly harvested greens in the refrigerator, wrapped in a damp paper towel, and placed in a breathable bag. They’ll stay crisp and delicious for several days—if they last that long!
If you find yourself with a bumper crop, consider preserving your greens for later. Blanched and frozen greens can be a delightful reminder of your garden’s bounty during the off-season. Or try your hand at making pesto or green smoothie packs for a quick and healthy meal option.
And let’s not forget the power of fermentation. Sauerkraut or kimchi made with your garden greens? That’s next-level urban gardening. It’s like capturing the essence of summer in a jar, ready to brighten up the dreariest winter day.
From soil to supper, urban gardening is a journey of discovery and delight. Armed with these tips, you’re ready to transform your balcony or rooftop into a thriving green oasis. So roll up your sleeves, get your hands dirty, and let the magic of growing your greens enrich your life in more ways than one.