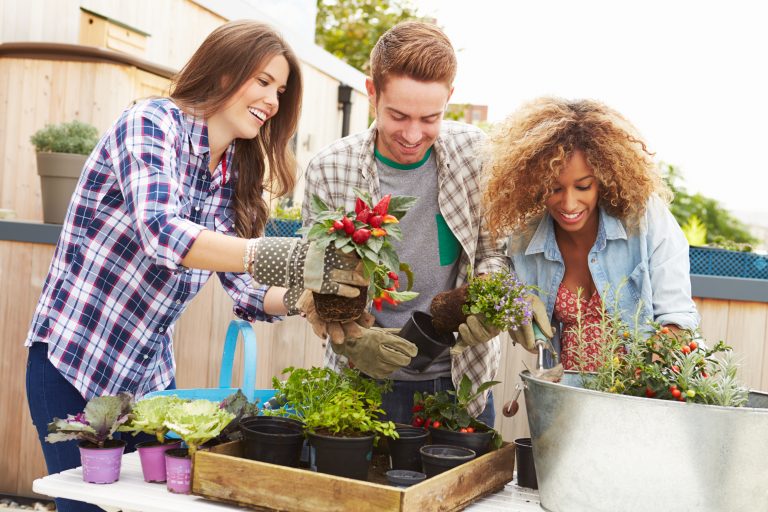
10 Essential Steps to Prep Your Home Garden
Transforming your home into a verdant oasis begins with preparation and planning. Follow these essential steps to create a thriving garden that will be the envy of your urban neighborhood.
Step 1: Soil Assessment
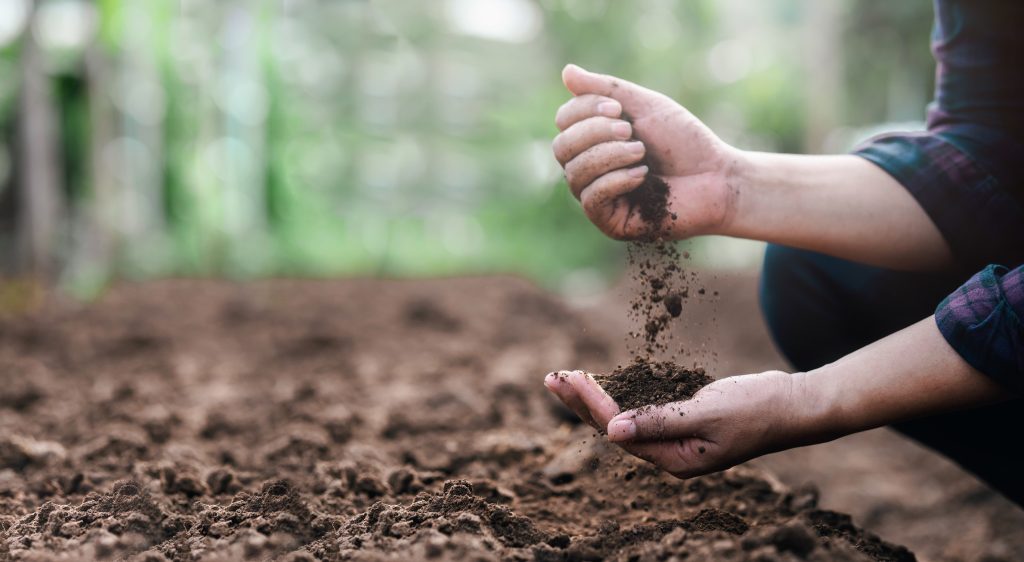
Before you sow a single seed, it’s crucial to know what you’re working with. Soil assessment is like a health check-up for your garden; it tells you about nutrient levels and pH balance. You can pick up a soil testing kit from your local garden center or, for a more thorough analysis, send a sample to an extension service.
Remember, different plants have different needs, so understanding your soil will guide your plant choices and amendments. If your soil is as lifeless as a forgotten loaf of bread, don’t despair—most urban soils need a little TLC to bring them to life.
Once you’ve got your results, it’s time to interpret them. High acidity? You might need to add some lime. Low in nitrogen? A dose of compost could be just the ticket. Keep in mind that soil texture (clay, loam, sand) also affects water retention and root growth, so consider this when planning. Your garden’s foundation is only as strong as the soil it’s built on, so don’t skip this step!
Hey hey! Don’t forget to subscribe to get our best content 🙂
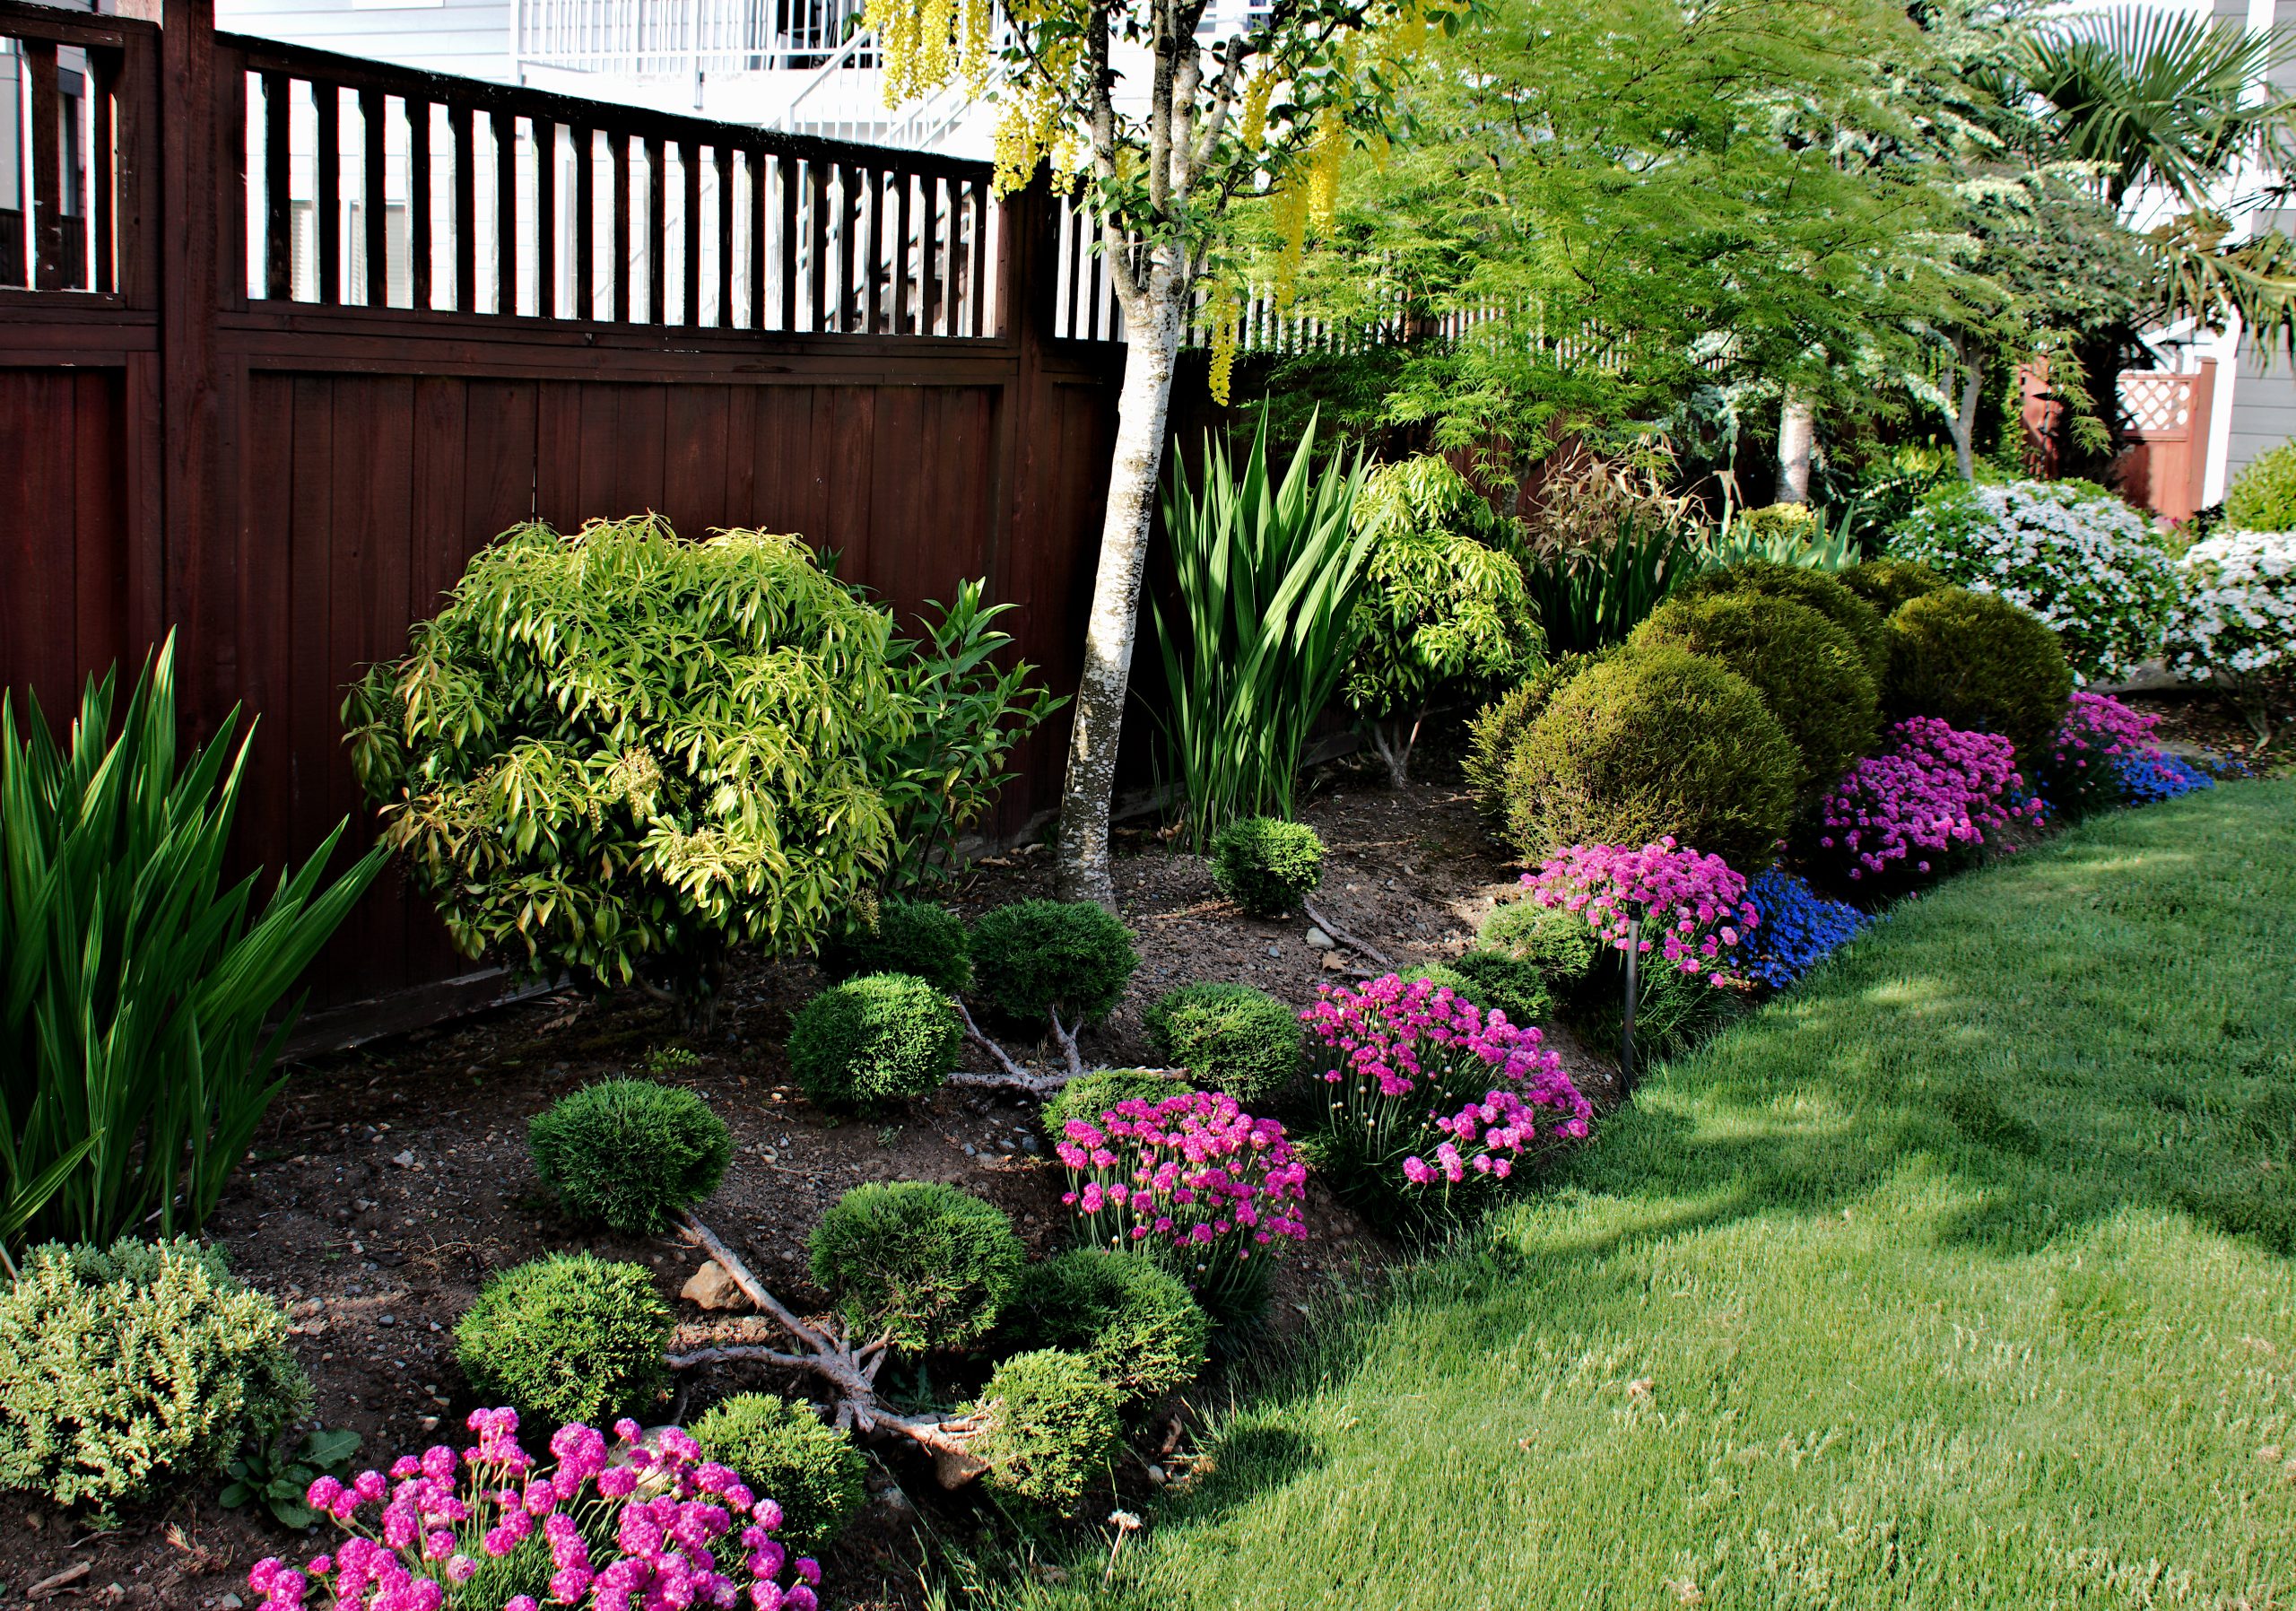
Step 2: Garden Layout Design
Crafting your garden layout is like painting a green masterpiece on a canvas of soil. Consider the sunlight patterns throughout the day—some plants adore the morning sun, while others prefer the coolness of afternoon shade.
Efficient use of space is key in urban gardens, so think vertical: trellises and hanging baskets aren’t just pretty, they’re practical. And let’s not forget companion planting—the garden equivalent of matchmaking for plants. Some plant pairings can help deter pests or enhance growth, so do your homework.
Your design should also reflect your lifestyle. If you’re always on the go, opt for low-maintenance plants. Do kids or pets? Make sure your garden is a safe place for them to explore. And don’t be afraid to get creative with containers—old boots, teapots, you name it, can become a home for your plants. Just remember, drainage is crucial, so poke holes if needed.
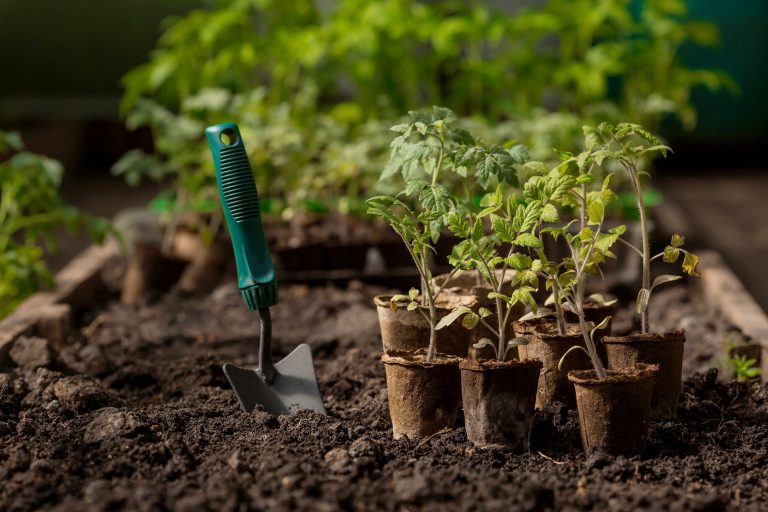
Step 3: Choosing Your Plants

Now for the fun part—picking your green buddies! Choose plants that will thrive in your specific conditions. If your balcony gets full sun, Mediterranean herbs might just love it there. Shady spaces? Ferns and hostas can be your go-to. Think about what you want from your garden—fresh herbs for cooking, vibrant flowers for aesthetics, or maybe a mix of both.
Consider the mature size of the plants to avoid overcrowding and competition for resources. And don’t forget about the seasons—choose a variety that will keep your garden looking lively throughout the year. I once made the mistake of planting only summer bloomers and ended up with a barren winter balcony—it was as depressing as a canceled vacation.
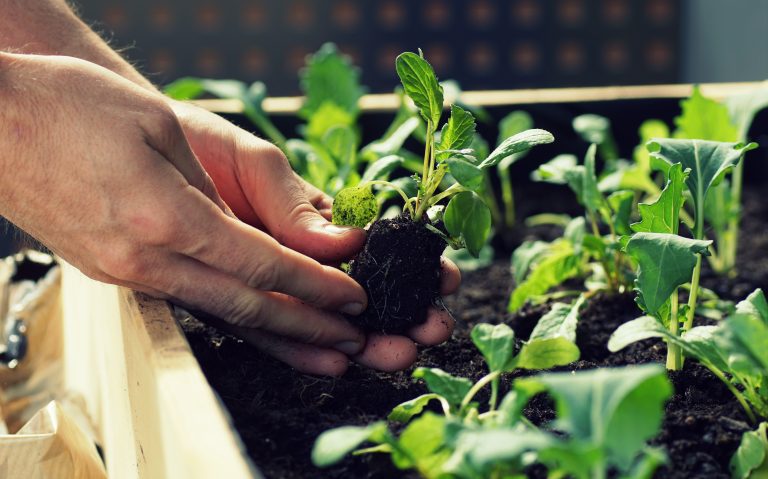
Step 4: Soil Preparation
Soil preparation is the secret sauce for a flourishing garden. Start by removing any debris, rocks, or roots that could impede your plants’ growth. Then, get those muscles working and loosen the soil—your plants’ roots will thank you for the room to spread. If you’re dealing with compacted urban soil, this step is as essential as your morning coffee.
Mix in organic matter like compost or well-rotted manure to give your soil a nutrient boost. If your soil test indicated any deficiencies, now’s the time to add the necessary amendments. And remember, well-prepared soil is like a cozy bed for your plants—make it just right, and they’ll snooze their way to robust growth.
Step 5: Composting Basics
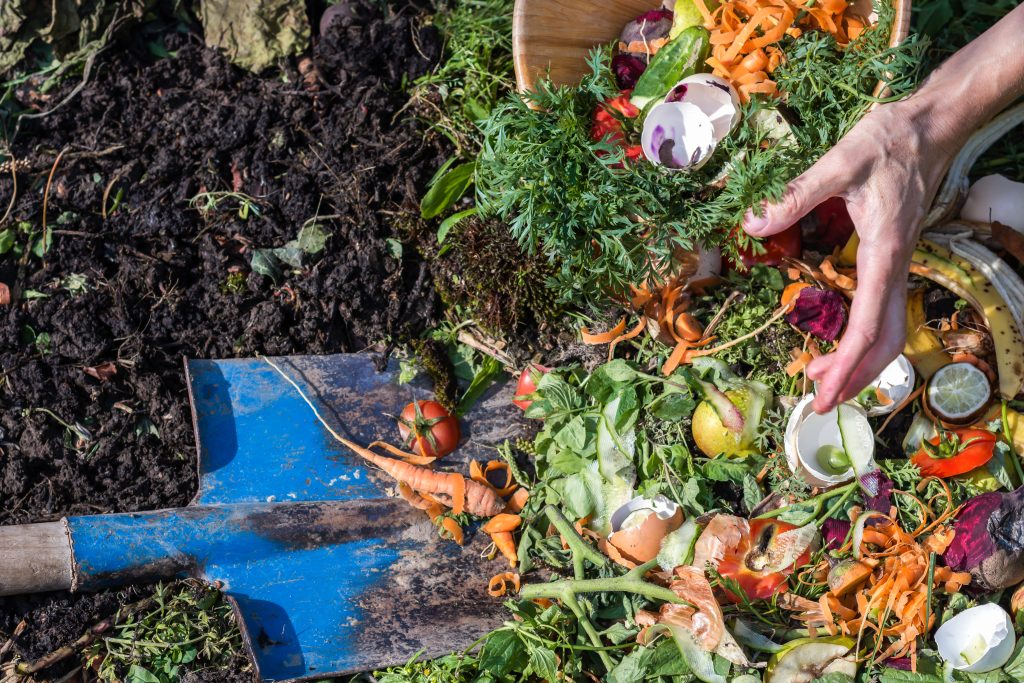
Composting is like turning your kitchen scraps into gold for your garden. It’s simple: combine green materials (like vegetable peels) with brown materials (like dried leaves), keep it moist, and turn it occasionally. Before you know it, you’ll have a rich additive that’ll make your plants go “Ahhh!”
Don’t have a backyard? No problem. There are compact compost bins designed for small spaces. And if you’re worried about the smell, fear not—properly managed compost shouldn’t be any stinkier than your garbage bin. Think of composting as the circle of life in miniature; you’re giving back to the earth, and it’s downright inspiring.
Step 6: Fertilization Tips
Fertilizers are the multivitamins for your garden. They come in many forms—granular, liquid, organic, synthetic—and each has its place. The key is to match the fertilizer to your plants’ growth stages. Leafy greens love nitrogen while blooming beauties crave phosphorus.
Always follow the instructions on the label (more isn’t always better—trust me, I’ve burned a few roots learning this the hard way). And consider slow-release options; they’re like a time-released feast for your plants. Just remember, the goal is to complement your soil’s nutrients, not overwhelm them.
Step 7: Irrigation Setup
Water is life, especially in the concrete jungle. An efficient irrigation system saves you time and conserves water. Drip irrigation or soaker hoses are great for getting water directly to the roots where it’s needed, without wasting a drop. If you’re more of a hands-on gardener, a watering can with a long spout offers precision and control.
Consider the time of day, too—early morning or evening reduces evaporation. And always water deeply but infrequently to encourage strong root growth. It’s like teaching your plants to fish, rather than just feeding them a fish (if plants could fish, that is).
Step 8: Mulching Techniques
Mulch is the unsung hero of the garden world. It conserves moisture, keeps weeds at bay, and can add a finishing touch to your garden aesthetic. Organic mulches like straw or wood chips also break down over time, improving your soil structure.
Apply a layer around your plants, but don’t smother them—a mulch volcano is as disastrous as it sounds. And if you’re using inorganic mulches like gravel, remember they won’t improve your soil quality, but they do add a certain je ne sais quoi to the garden.
Step 9: Pest Control Strategies
Pests are the uninvited guests at your garden party. Prevention is the best strategy, so keep your garden clean and remove any diseased plants promptly. Encouraging beneficial insects by planting a variety of flowers is like hiring bouncers for your garden club.
If pests do show up, identify them before reaching for the spray—sometimes a strong blast of water or hand-picking is enough. And when you do need to use pesticides, go for the least toxic options. It’s like choosing medicine for a sick child—you want the gentlest cure.
Step 10: Seasonal Maintenance
Seasonal maintenance is the rhythm of the gardening dance. In spring, it’s all about planting and mulching. Summer is for watering, weeding, and enjoying the fruits of your labor. Come fall, it’s time to harvest and prepare for winter. And in winter, plan and dream for the next season.
Rotate your crops to prevent soil depletion and disease buildup. And always, always keep an eye on your plants—they’ll tell you what they need if you listen closely. Remember, a well-maintained garden is a happy garden, and a happy garden is a slice of paradise in the urban jungle.
With these essential steps in your gardening toolkit, you’re ready to cultivate a little piece of nature right at home. Roll up your sleeves, get your hands dirty, and watch as your urban garden comes to life—it’s one of the most rewarding adventures you can embark on without leaving your doorstep.